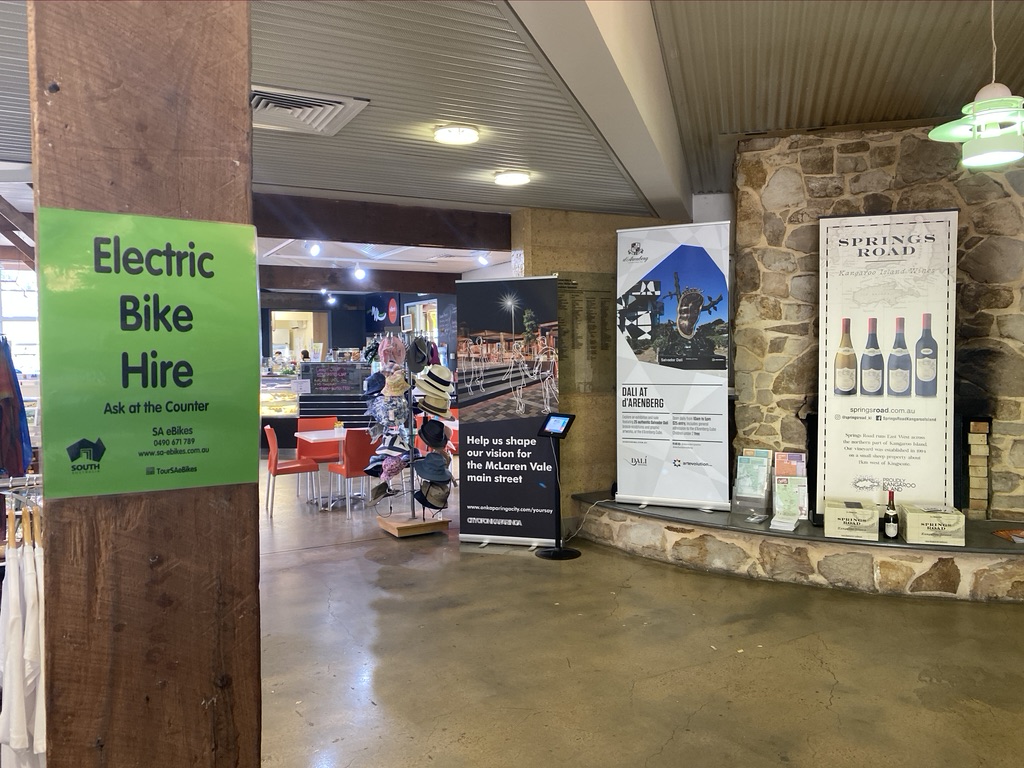
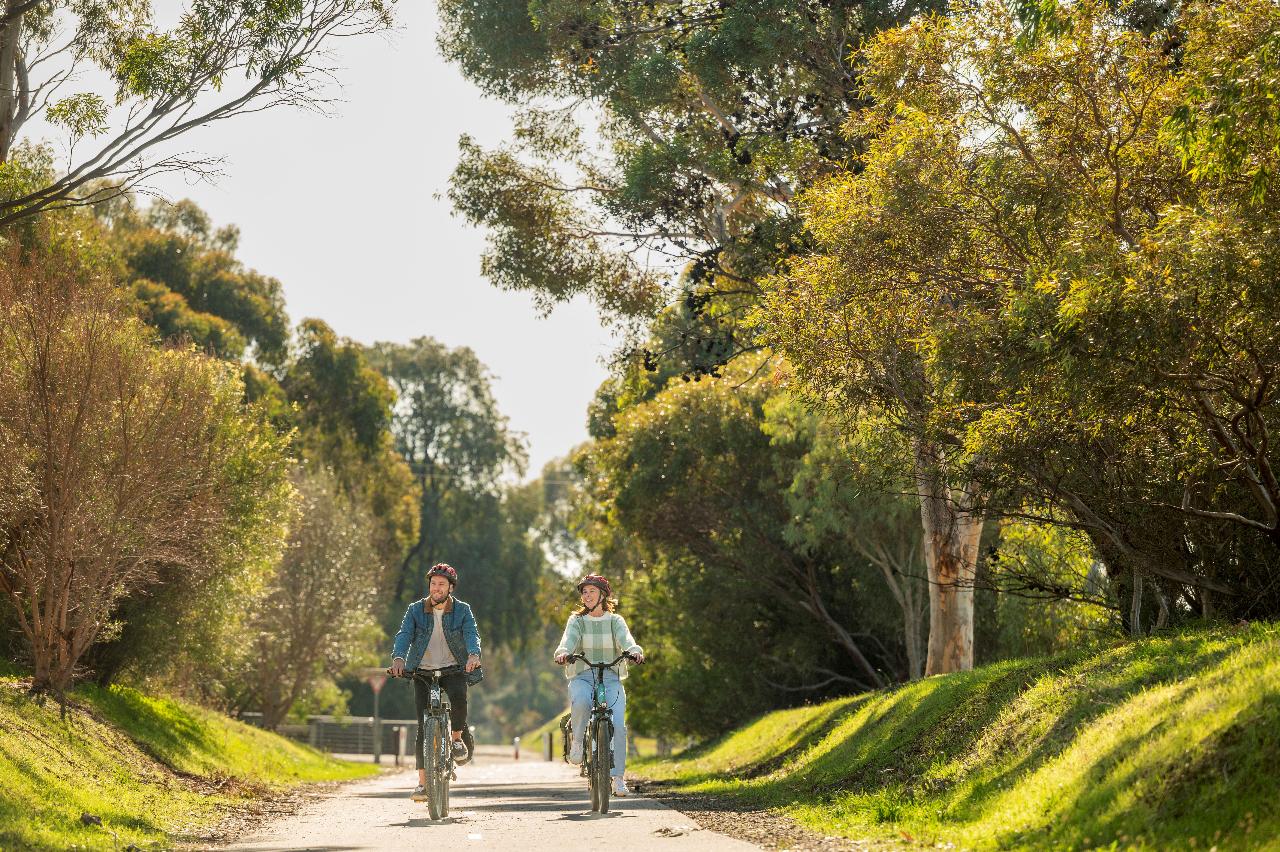
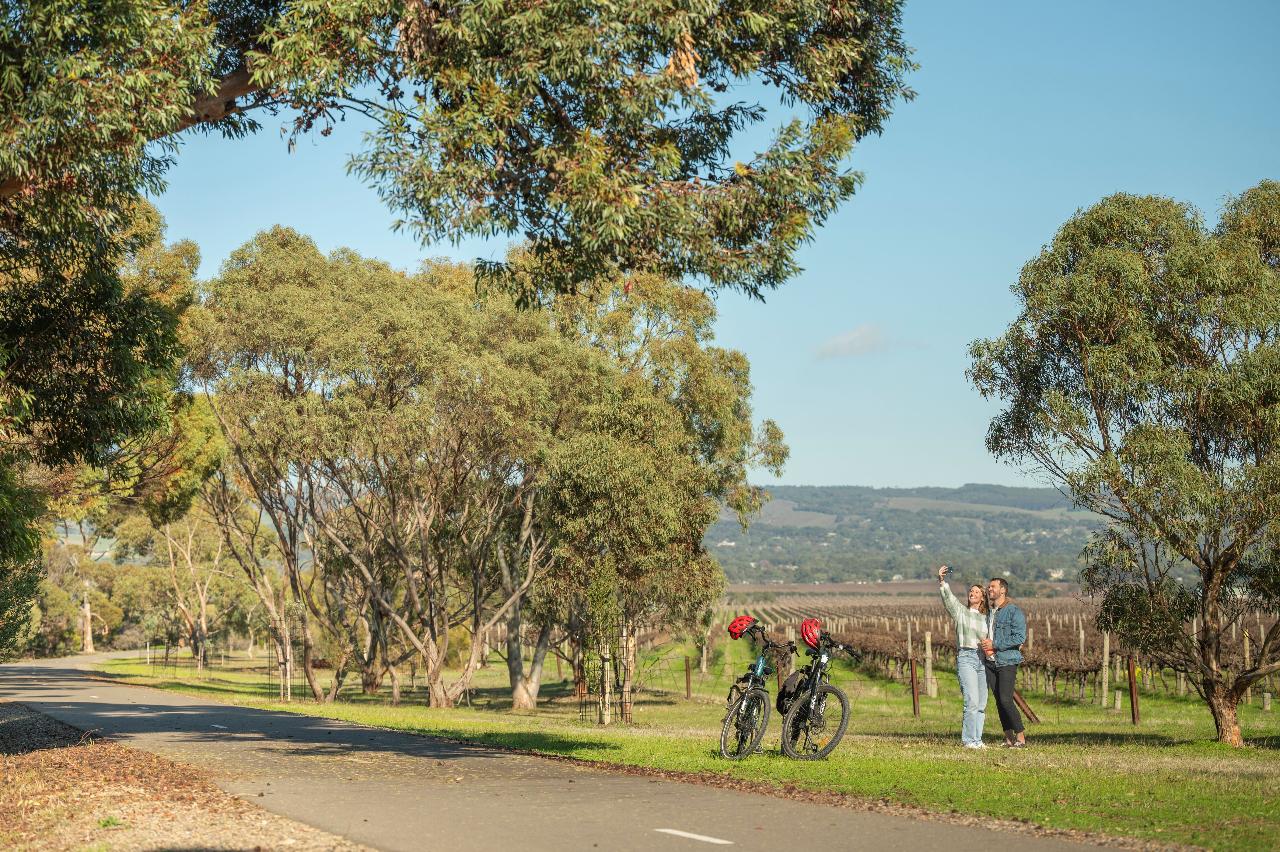
McLaren Vale Self-Guided E-Bike Tour
Duration:

Operated By:
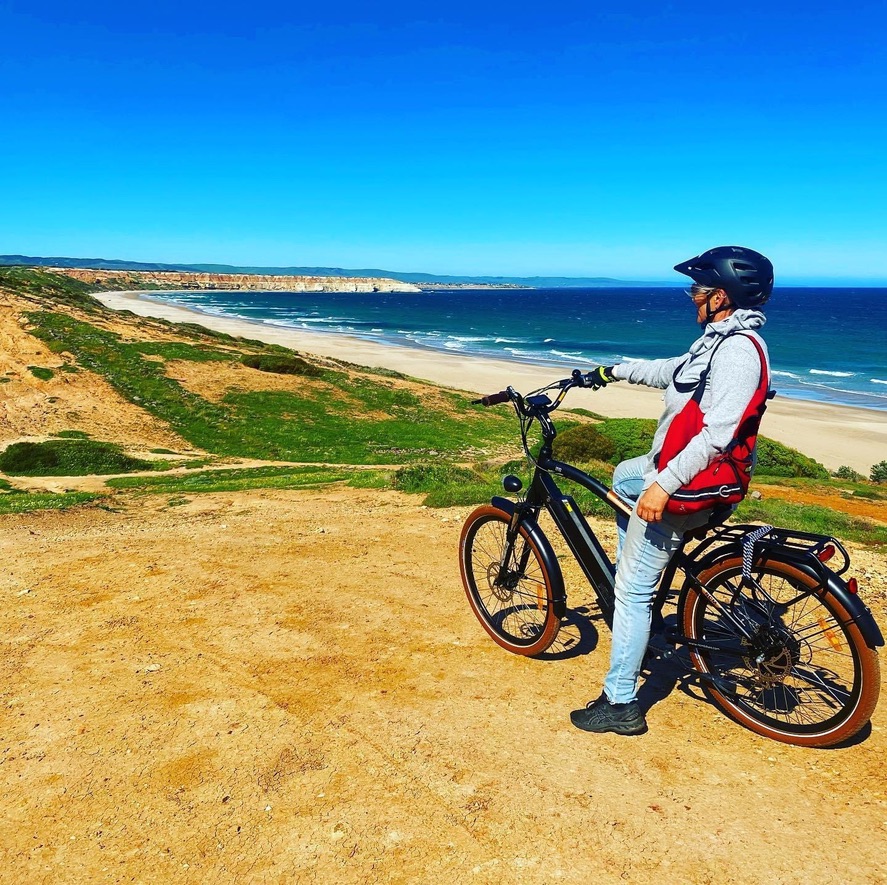
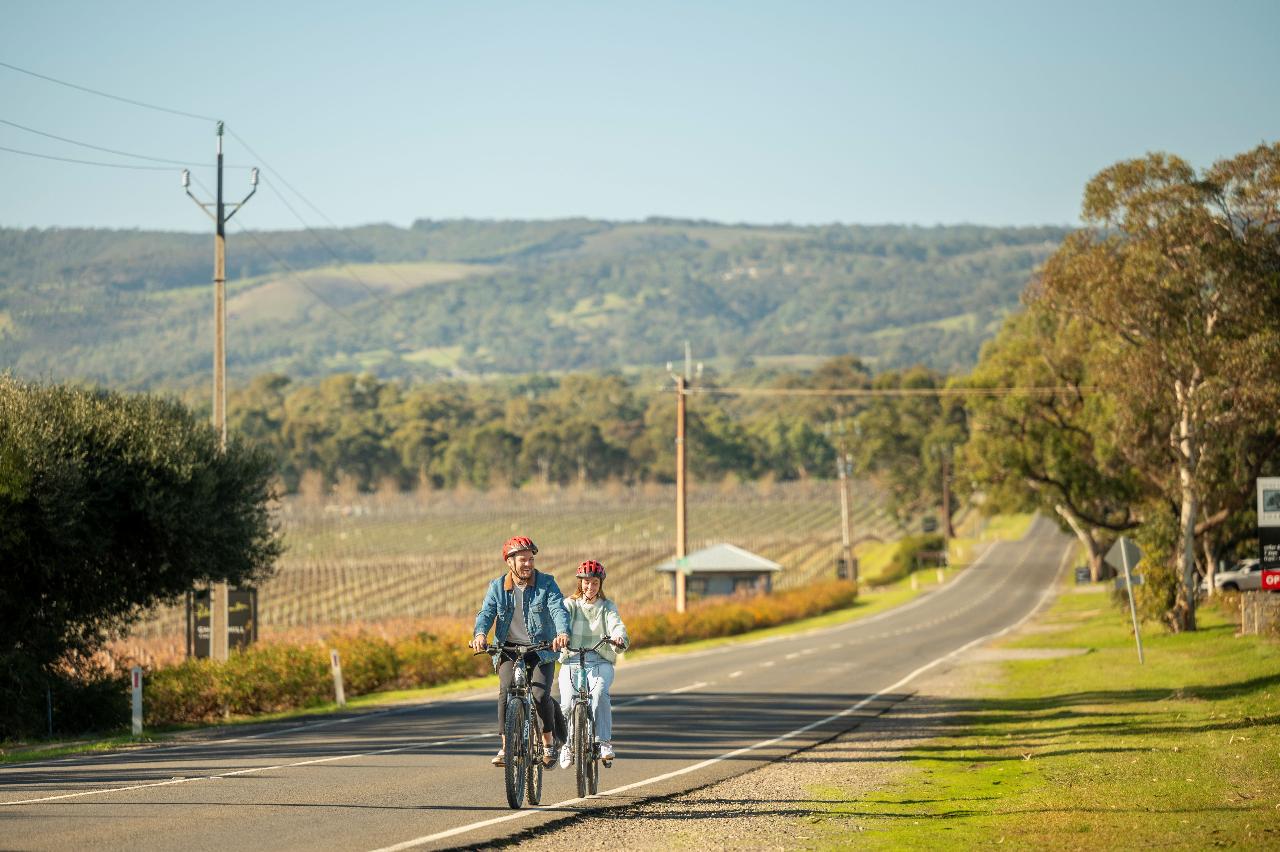
Discover the McLaren Vale wine region effortlessly with our electric bike self-guided tour, available daily.
Upon securing your booking, a confirmation email will be sent your way, featuring a self-guided map and itinerary for you to follow:
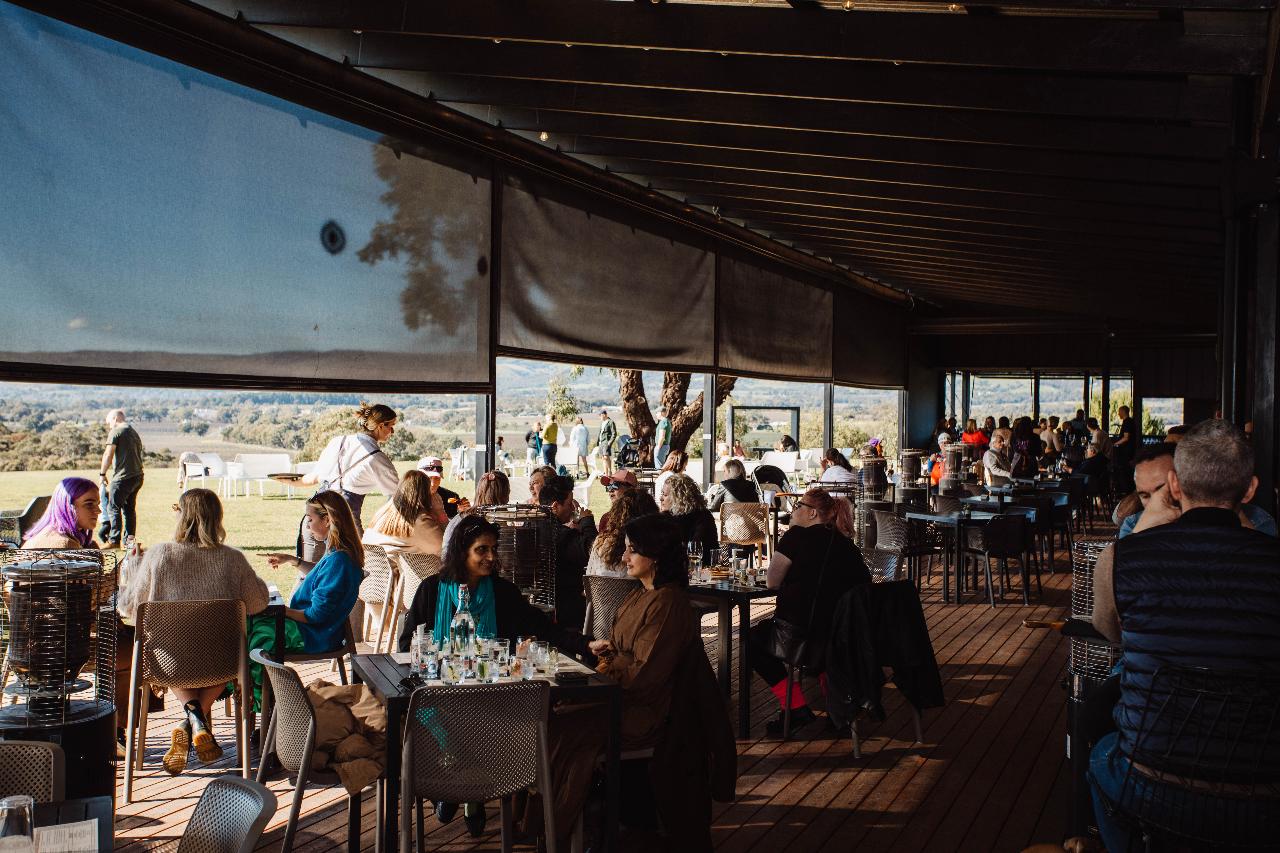
McLaren Vale Food and Beverage Tour:
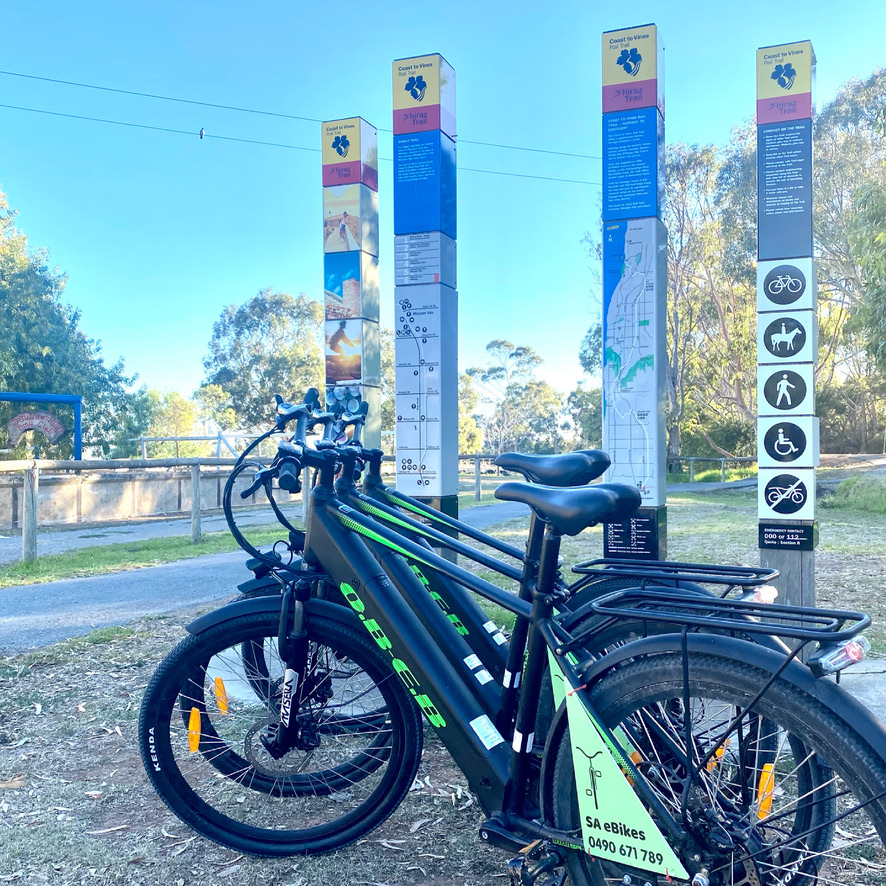
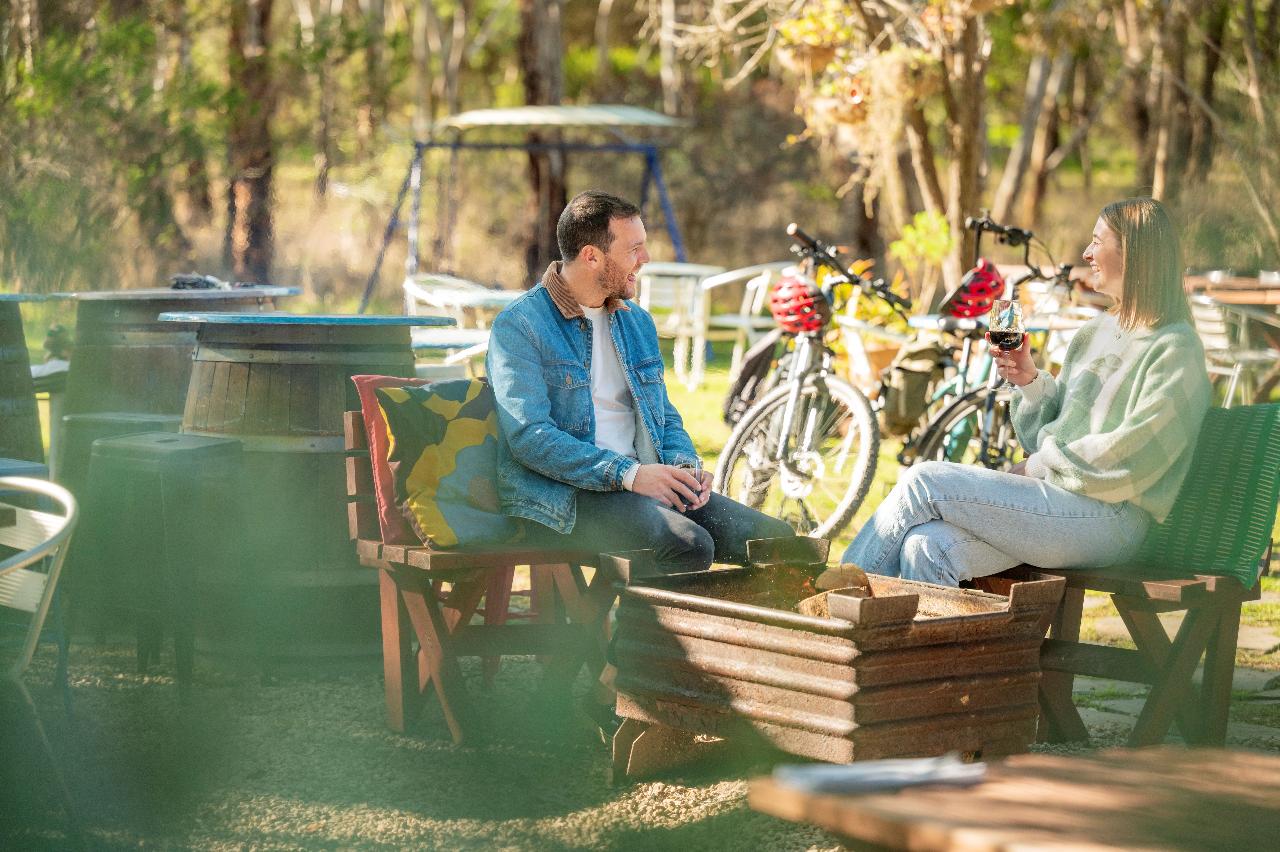
This itinerary ventures through McLaren Vale out to the back of McLaren Flat. Explore local roads and cycle paths, visiting D’Arenberg and Chalk Hill, enjoy lunch and a drink included at Never Never Distilling, and discover additional gems like the Vale Taphouse, and Menz Fruchocs
Your bikes will be available from 9:30am. All bikes must be returned by 4pm.
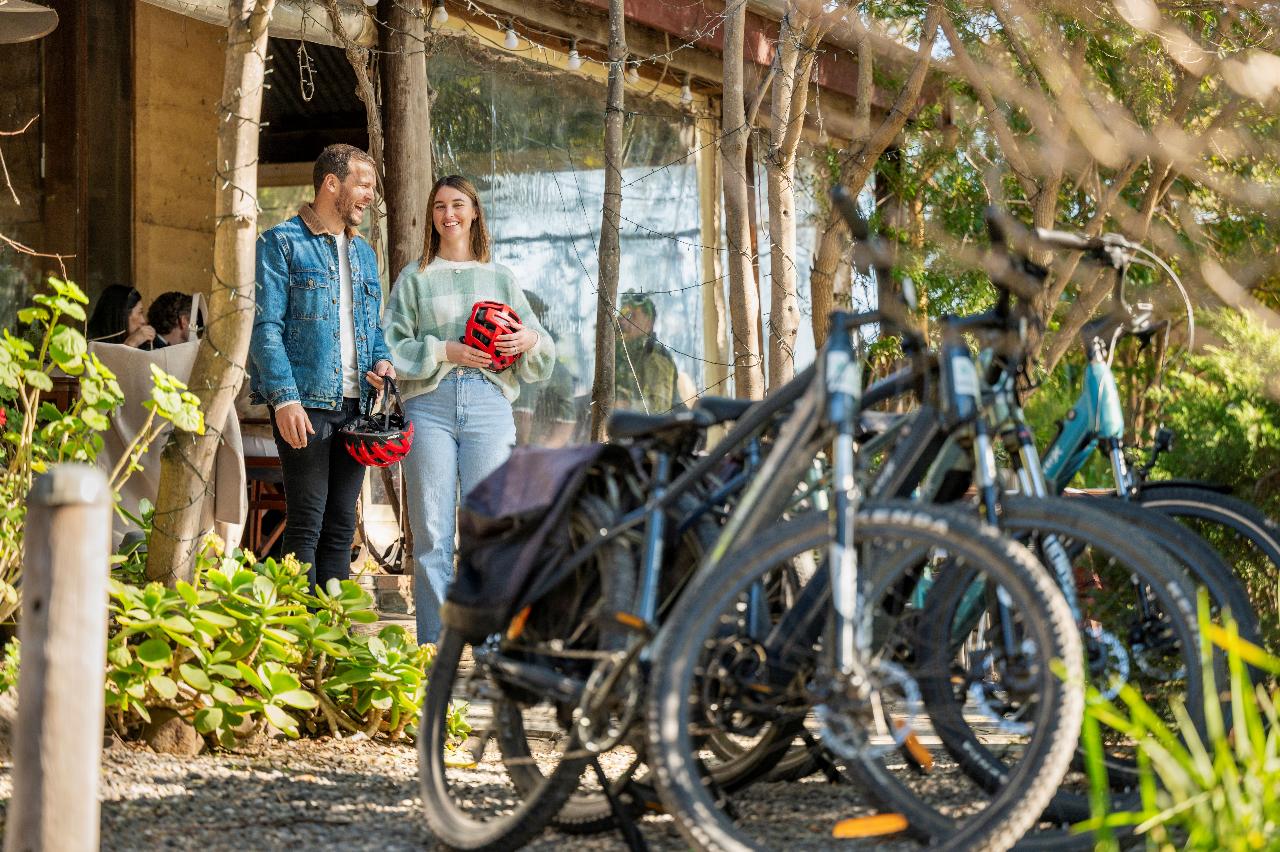
Your tour package includes:
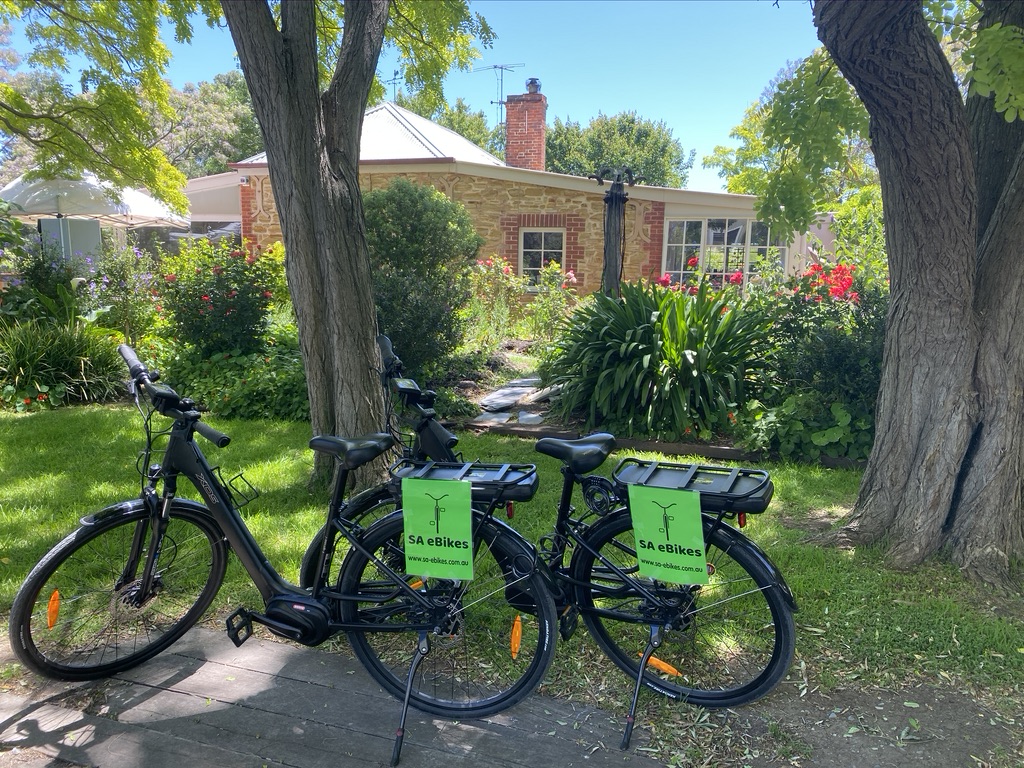
- E-bike, helmet, lock, and a convenient basket/carry bag for your belongings or wine purchases. (Bikes located at Serfino)
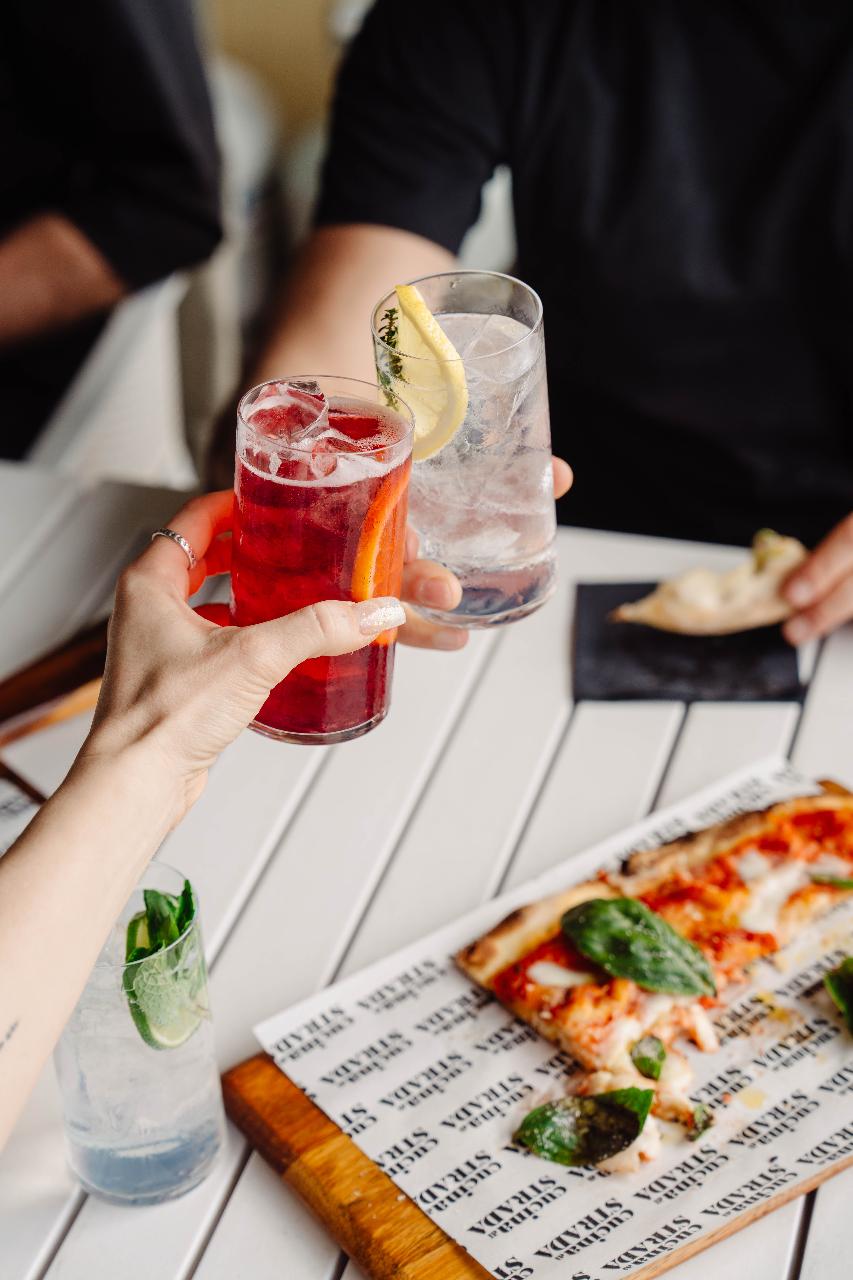
- Lunch and a drink of choice at Never Never Distillery.
- Detailed maps and suggested itineraries to guide your memorable journey through McLaren Vale.
Please note that Cucina can cater for Gluten Free guests, but aren’t able to cater for Coeliacs due to
the potential of air-borne gluten – the prep kitchen is also their serving
kitchen, so while they take every precaution when handling food for guests with
allergens they cannot guarantee a 100% gluten free environment.
Please call Dan on 0405623588 for inquiries, extra bikes or large group bookings.
Please note, minimum height for this tour is 150cm
- Always stand next to your bike when turning it on
- On the left hand side of the handlebars there is a small screen, on the right hand side of the screen there is a button. Hold this button down to turn the bike on.
- Once the bike is on, choose your assistance level using the + and – buttons on the front of the screen. The bike has levels 1-5, 1 being the least amount of assistance and 5 being the most.
- If this is your first time riding an e-bike, we recommend starting your ride on level one (1), and increasing the assistance level as you feel comfortable.
- Keep in mind the battery will only last around 40km (approximately 2-3 hours) when you are on level 5, so if you are riding a long distance, please be mindful of your battery usage.
- When stopped for more than 5-10 minutes, the bikes will automatically turn themselves off to save battery. Otherwise, to turn off your bike, hold down the button on the right hand side of your screen.
- If you are to stop somewhere and leave the bikes, please use the locks provided to lock them up, prefferably locking them to something sturdy e.g. a bike rack or a post, rather than locking the wheel to the frame.
- Brakes on the left hand side of the handlebar are your back brakes and on the right hand side are your front brakes. Please use both gently to slow down as they are hydraulic disc brakes and work very well if you are to slam them on.
- On the right hand side of the handlebars you’ll see a small window with numbers 1-8. These are your gears, number 1 is the easiest gear (for riding up hills) and number 8 is the highest gear (riding in flat areas). To change these gears, you’ll see two levers for your right thumb. The biggest lever is to change down gears (towards 1) and the smaller lever behind is to change up gears (towards 8). Please ensure you are pedalling to change gears, don’t change them when stationary.
- There is a kickstand on the left hand side of your bike for when you stop – please use this and avoid lying the bikes down.
- If your bike doesn’t seem to be working or has an error code on the screen, simply hop off your bike and turn it off, wait 20 seconds and turn it back on.
SUITS
Interests:
Skill Level:
Suitability:
Accessibility:
Share:
Dan has a great personality and we would highly recommend any of the tours.
Kind regards Chris & Janet

Highly recommended!


Recently we completed our second 7-day Bike About tour in South Australia, this time we explored the picturesque and rugged Flinders Rangers by e-bike, staying at Rawnsley Park Station. Our tour started with our arrival in Adelaide, we love the city as there are great attractions within walking distance of the hotel we stayed at, and there’s always plenty to see and do. This tour, due to the distances involved, required a bit of driving to get to our cycling destinations. The Bike About team planned the trip so well, we enjoyed every bit of it. We stopped at the interesting Alligator Gorge on day 1, our first taste of the ruggedness of the landscape. Cycling in the Flinders was amazing, and the tracks we chose were all very rideable without issue, the e-bikes handled it all amazingly well. Our longest cycling day was around 39 km, all off-road or on gravel, which we accomplished easily. Our trip highlights included riding through to the historic Wilpena Pound homestead, along the Heysen trail, then the next day we started with an engaging cultural tour led by a local Adnyamathanha guide, who told us stories that explained the history of the Sacred Canyon and the significance of the treasured and ancient rock petroglyphs. Following this uplifting experience, we rode the scenic Bulls Gap trail and into the stunning Brachina Gorge with its interesting geological history. We saw heaps of yellow footed rock wallabies really close up, this was a real treat and the wallabies seemed unperturbed by us cycling quietly past, so we had some great photo opportunities. Other wildlife was everywhere, kangaroos, emus, echidnas, eagles, falcons and plenty of parrots entertained us over the three days. The accommodation at Rawnsley Park Station was first class, very warm and comfortable in spacious units, with excellent meals served in the Woolshed Restaurant. We were also impressed by the tasty and nutritious packed lunches that we took on our rides, these were provided by the restaurant kitchen.
To gain a true appreciation of the scale and magnificence of the Flinders, you really need to take advantage of a scenic flight. These are offered from Rawnsley Park at very reasonable prices, and the pilots take you over the majestic ranges and Wilpena Pound, for awesome views and photo opportunities.
Sadly, after 3 days we had to leave the Southern Flinders and we headed down to the Clare Valley, where we rode an amazing trail along an old railway line. This trail was so pleasant to ride, being very smooth and well maintained, and provided great scenery along the way. At various stops we enjoyed gourmet platters, wine tasting and chocolate pairing at some local wineries, before heading back for an interesting dinner at a local historic hotel, where we were treated to a chat with the proprietor who was extremely welcoming and very knowledgeable on local history and environmental subjects.
Throughout this trip there was a need for the Bike About team to adapt to changing circumstances, the weather and accessibility of some trails necessitated changes to plans. The team was awesome and really worked hard at making our trip enjoyable with various alternative options, which, as it turned out, worked amazingly well and fitted easily into the itinerary. As the weather was inclement on our last day, we could not cycle so we visited an excellent café for a leisurely breakfast, followed by a tour of the Yalumba Cooperage, and finally the Monarto Safari Park, the highlight of which was seeing 3 huge male lions bounding towards our bus.
All in all, a fantastic trip with a wonderful group of like-minded cyclists. Our dedicated, enthusiastic and entertaining guides made sure we had a lot of fun, and the camaraderie in the group was very enjoyable, with a lot of good-humoured banter and many stories told. Bike About has delivered again, in spades, and we are really looking forward to tour opportunities in 2026!


We enjoyed it so much, we will be returning to do another ride soon. Thanks Jack and Dan for making our holiday so memorable.


Hot tip... make sure you get your partners height right ???? haha


We needed a couple of bikes for our visitors to do the Amy Gillett bike way, wineries and pubs.
From the moment I contacted Jack is was just so easy and uncomplicated and very reasonably priced - our bikes delivered to Woodside and away we went - after our hire we dropped off the bikes off at a designated spot - so easy
We will use this company again in a heart beat


We did the Adelaide Hills e-bike tour and absolutely loved it. The bikes were lots of fun, and made the winery tour very unique and special. We rode along some very beautiful roads and bush tracks between each stop. Each stop on the tour was excellent, including the final stop at the Lane for a very fancy picnic. Jack was incredibly knowledgeable and did a lot of hard work behind the scenes to make the day run so perfectly. We will definitely book with Bike About again!

Jack was a superb guide & soon gave me the confidence to 'let go' and just enjoy.
Im a bit of a tree hugger at heart & found myself with in minutes of the city deep in the bush with native bird song & butterflies. Forest bathing was working its magic & I was on a high for the rest of the afternoon & into the evening.
The ride finished with some crisp white wine & regional charcuterie platter - I hooked!!
See you soon Jack! Cheers Mandy
The accommodation in each location was very good, especially the Birdwood Motel.
I would recommend this to anyone who likes cycling, wine and food.


Got to see all the best places and tonnes of the behind the scenes stuff at the local factories and winery. Electric bikes were so easy to ride and the guides are so friendly.
We'll definitely be back! Thanks Jack